Painter’s tape seems simple enough: put it down, paint, and peel it off.
But if you’ve ever pulled the tape away and ended up with a jagged edge or a strip of paint coming with it, you know that the timing and technique matter.
So, when should you remove painter’s tape?
The short answer is: follow the instructions for the specific tape and paint you’re using. For example, 3M recommends waiting until the paint is dry to the touch before removing its painter’s tape.
However, there’s more to getting a clean line than simply watching the clock.
Why Does Painter’s Tape Timing Matter?
When paint dries across the edge of the tape, it can form a film that connects the painted surface to the tape.
If you pull the tape aggressively, that film can sometimes break unevenly or disturb the paint along the edge.
On the other hand, removing tape while the paint is still very wet can smear the fresh coating.
That’s why the goal isn’t simply “remove it as soon as possible.” Instead, pay attention to the paint and follow the tape manufacturer’s instructions.
When Should You Remove Painter’s Tape?
For ScotchBlue painter’s tape, 3M recommends waiting until the paint is dry to the touch before removing the tape.
The exact timing can vary depending on the paint, temperature, humidity, surface, and the particular tape you’re using.
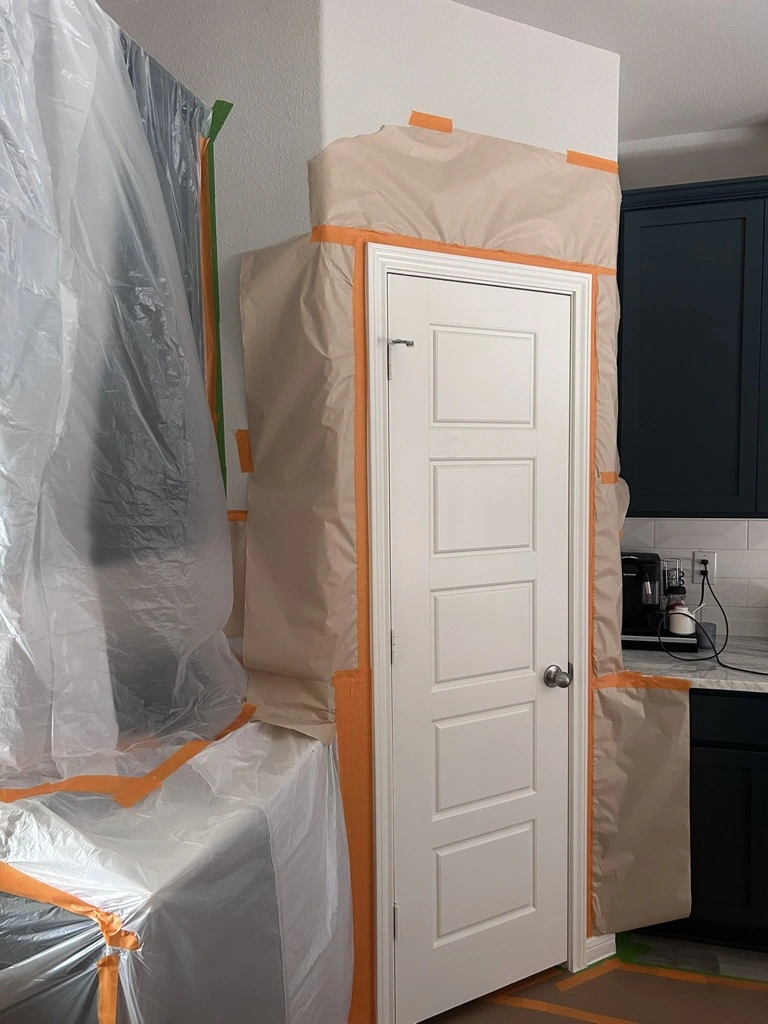
In other words, don’t assume that every project has the same 30-minute, two-hour, or overnight rule.
The label on your tape is a better guide.
How to Remove Painter’s Tape Without Damaging the Paint
Once the paint is ready, take your time.
Start at one end or corner and slowly pull the tape back on itself. 3M recommends removing its painter’s tape at approximately a 45-degree angle.
A controlled pull is much better than quickly ripping the tape away.
If you notice the paint beginning to lift, stop and check the edge before continuing.
A Simple Removal Process
- Check that the paint is dry to the touch.
- Start at a corner or accessible edge.
- Pull the tape slowly and steadily.
- Keep the tape close to the surface.
- Pull back at the recommended angle.
- Watch the paint line as you go.
It only takes a little extra patience, but it can make a noticeable difference.
Should You Remove Painter’s Tape Immediately?
Not necessarily.
The important thing is not to treat “immediately” as a universal rule.
Some types of painter’s tape are designed for clean removal over a specific period. For example, 3M lists different clean-removal windows for different products, ranging from several days to longer periods depending on the tape.
That means the type of tape matters.
If you’re using a delicate-surface tape, multi-surface tape, or exterior painter’s tape, read the product instructions before leaving it in place.
What Happens If You Leave Painter’s Tape on Too Long?
Painter’s tape isn’t designed to stay on a surface indefinitely.
Depending on the product and conditions, leaving tape in place too long can make removal more difficult or increase the chance of adhesive residue or surface damage.
Sunlight can also matter for some products.
For example, 3M offers different tapes specifically designed for interior, exterior, and delicate surfaces, with different recommended clean-removal periods.
So, if you’re taking a break from a project, don’t assume the tape can simply stay there until next week.
How Do You Get Crisp Paint Lines?
Painter’s tape helps, but it isn’t the only factor.
Before applying tape, the surface should be clean, dry, and free of dust. 3M recommends this preparation because the tape needs a clean surface to adhere properly.
Press the tape firmly onto the surface, especially along the edge where you’re painting.
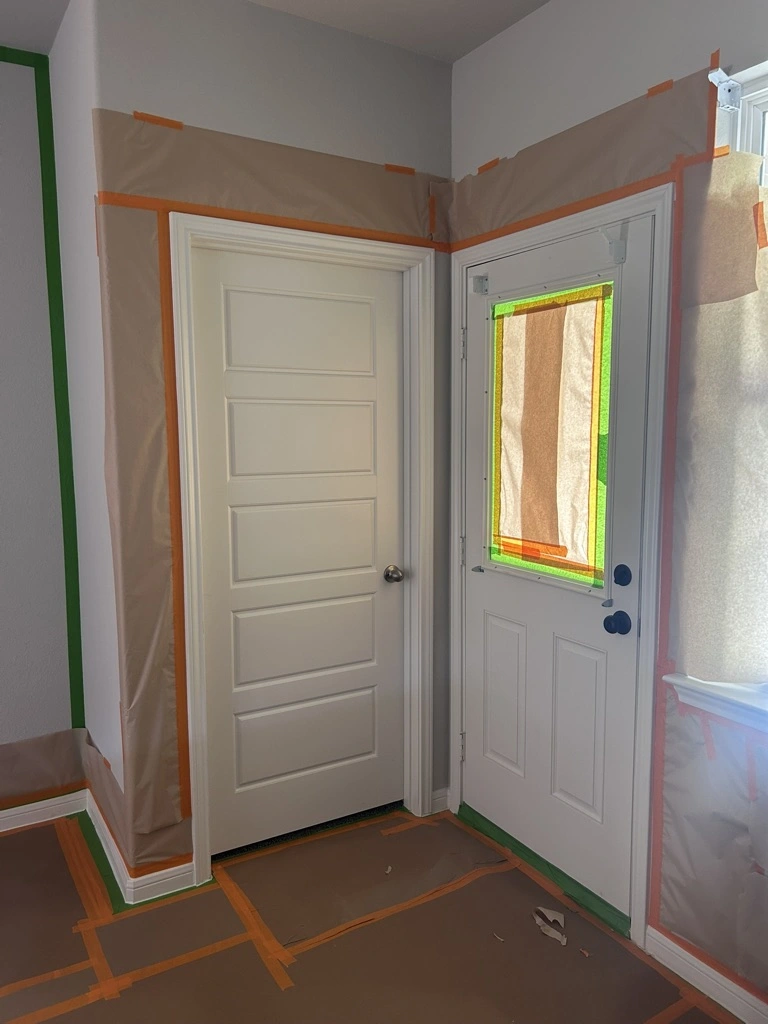
The paint itself matters, too. Applying excessive paint directly against the tape can increase the chance of buildup along the edge.
And, of course, good surface preparation underneath the paint helps create a cleaner finished line.
Do Professional Painters Always Use Painter’s Tape?
No.
Experienced painters may use tape in certain situations, but they can also rely on careful brushwork, surface preparation, and other techniques.
Tape is particularly useful when protecting adjacent surfaces or creating a defined boundary, but it isn’t a replacement for good painting technique.
For detailed areas such as window trim, door trim, and baseboards, careful preparation and application can be especially important.
What About Masking Tape?
Painter’s tape and general-purpose masking tape aren’t necessarily the same product.
Different tapes have different adhesives, surfaces they’re designed for, and recommended removal periods.
If you’re choosing tape specifically for painting, use a product intended for the surface and application you’re working on rather than assuming any masking tape will produce the same result.
A Small Detail That Can Affect the Final Result
Painter’s tape may seem like a minor part of a painting project, but small details add up.
A clean edge around a window, baseboard, door frame, or ceiling can make the finished room look much more polished.
That’s why professional painters pay attention not only to the paint itself, but also to preparation, protection, application, and cleanup.
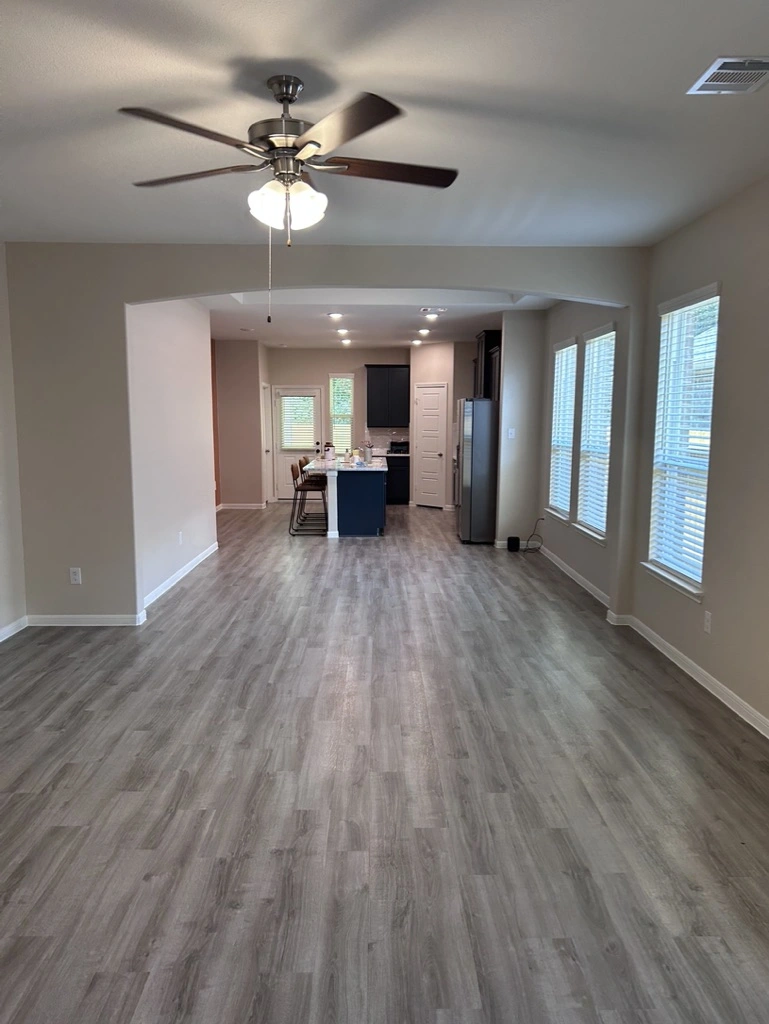
If you’re planning a project that includes detailed trim, Arcadia Painting Co. provides trim painting services throughout Southampton and the Pioneer Valley.
For larger interior projects, you can also explore Arcadia’s interior painting services.
Frequently Asked Questions
When should you remove painter’s tape?
Follow the instructions for the specific tape and paint. For ScotchBlue painter’s tape, 3M recommends waiting until the paint is dry to the touch before removal.
What angle should you use to remove painter’s tape?
3M recommends slowly pulling the tape back on itself at approximately a 45-degree angle.
Can painter’s tape pull off fresh paint?
It can. Proper surface preparation, using the correct tape, allowing the paint to set appropriately, and removing the tape carefully can help reduce the risk.
How long can painter’s tape stay on?
It depends on the product. Different tapes have different clean-removal windows, so check the manufacturer’s instructions rather than assuming all painter’s tape can remain on for the same amount of time.